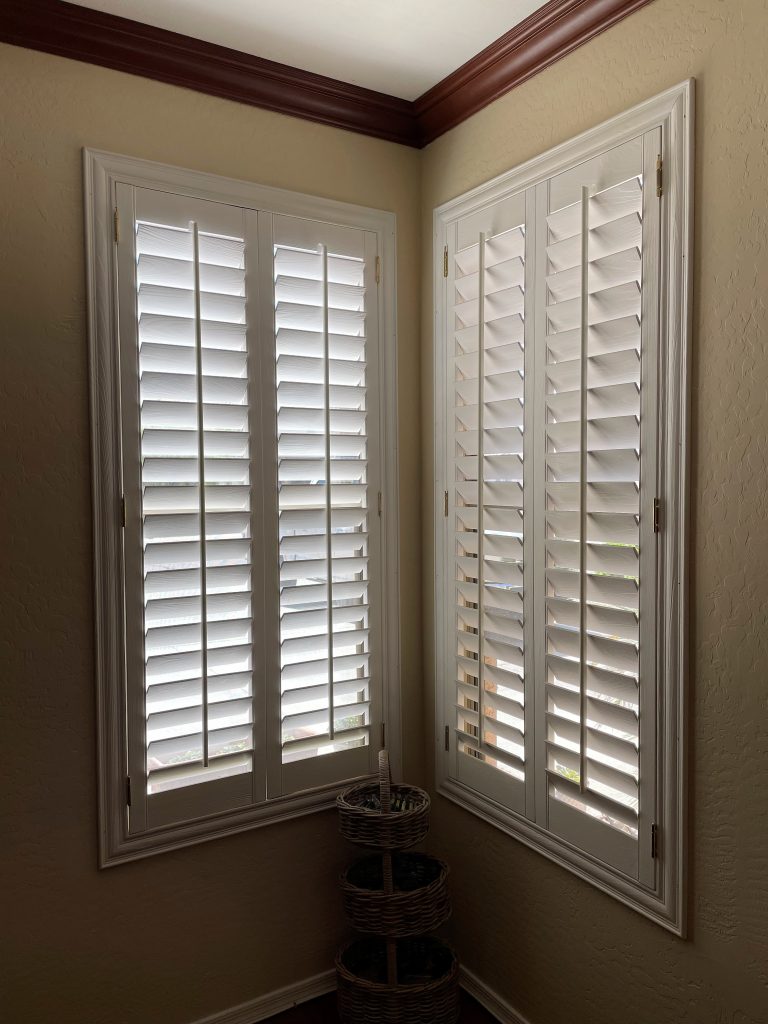
Today’s quick tip is a big cost saver when it comes to buying blackout shades for windows that let in too much sunlight in the morning. Empty nesting has transitioned the kids’ bedrooms into perfect guest rooms. Recent guests to our home commented that our newly made guestrooms were almost perfect except for the bright Arizona sunshine that illuminates a room with the seasonal 5am Arizona sunrise. So, I set out to figure out blackout shade options. With one kid in out-of-state college, the budget is a little tighter than before so I didn’t want to spend the close to $2,000 estimate I received from professional window covering companies. I do believe it is worth it to spend more on solid window coverings that will provide quality coverage and enhance the home worth. I love my plantation shutters shown here. 
But for the guest room that is already adorned with high-quality remote control window shades, a blackout shade overlay wasn’t an item that I wanted to spend a lot on this time. I did some research and I’m excited to share that instead of paying close to $2,000, I only spent $177 plus the $50 payment to my handyman to install the blinds. What a savings! And I think these blinds look just fine!
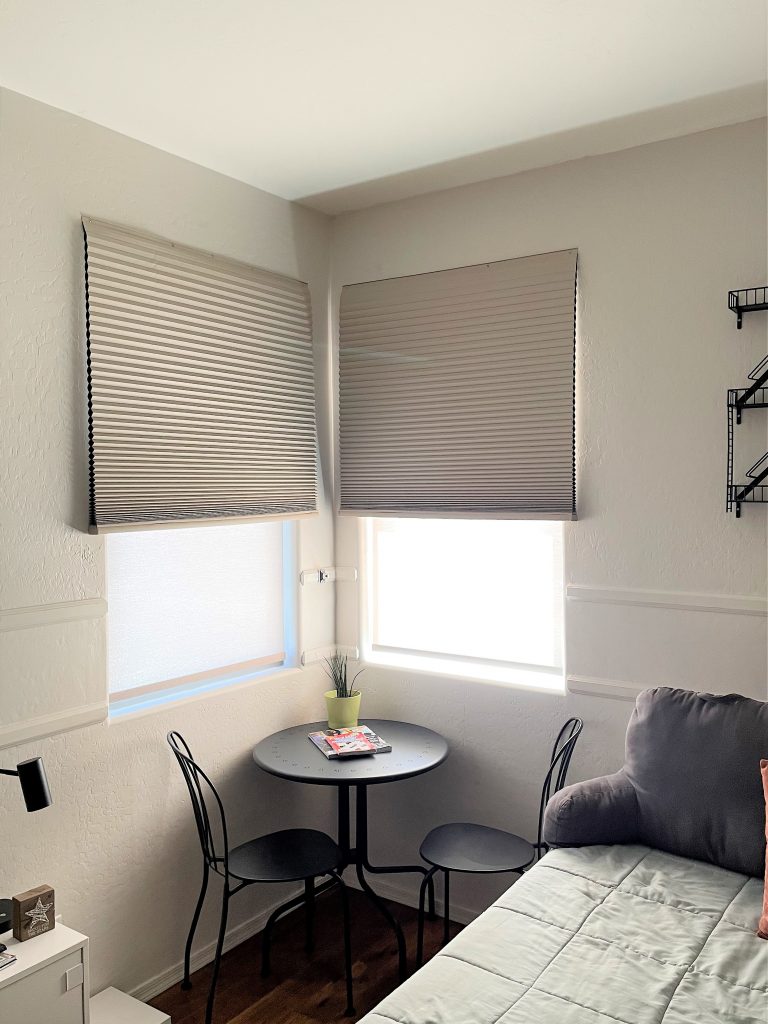
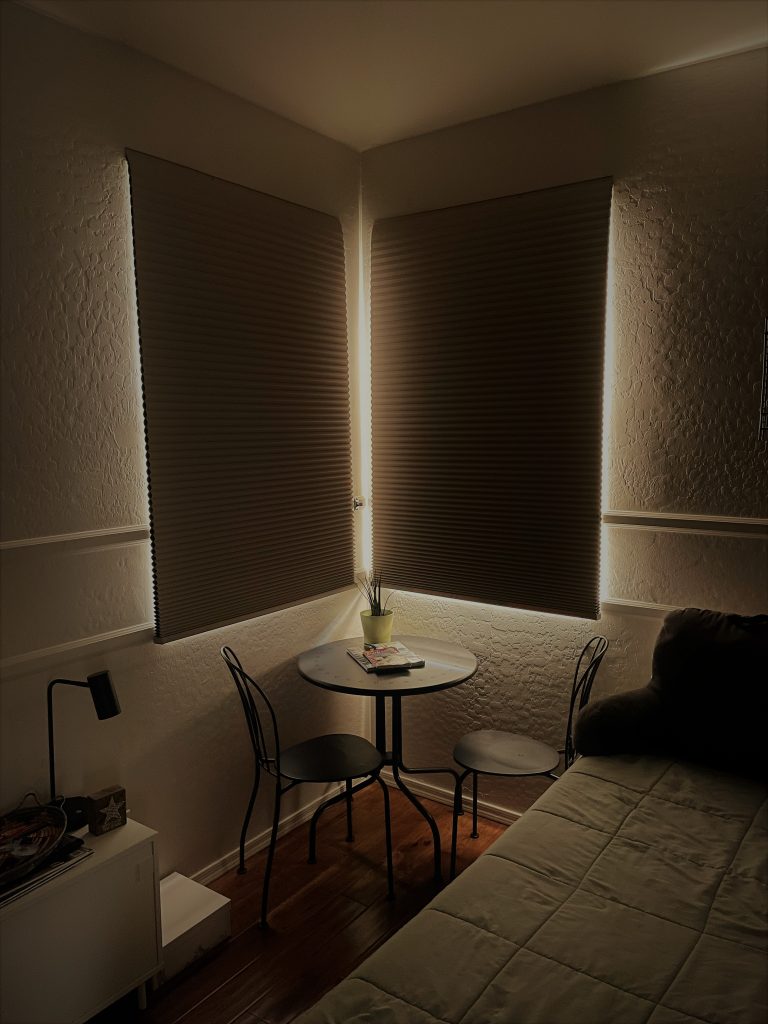
When the blackout blinds are pulled down, a lot of light is blocked. Just what I wanted to achieve.  I bought these from Home Depot. The Redi Shade is an easy lift cut-to-size natural cordless blackout cellular fabric shade. With a price tag of only $54.42 each, cutting each to size the specific window is worth the cost savings. I had my handyman do the cutting and installation job. I was also pleased with how quickly the turnaround time was from the time I spotted the Redi Shades on the Home Depot website to the time that the shades were installed. Just in time for the next guests to arrive. I placed my online order on May 20th and had the blinds in my home and up in the windows by May 26th. Expensive custom ordered shades would have taken several weeks to be delivered. The Redi Shades aren’t fancy, but they came in fast, are functional and are working fine. However, there was one issue with the adhesive backing that holds the shades in place on the wall…they didn’t stick well. So, my handyman nailed the top of the shades down to keep them in place. Look closely at the first picture to see the nails on top to see if that looks unsightly, as it may to you. It doesn’t bother me. The blinds work well…and for almost $2,000 less that I was planning to pay. I think that is a good home quick tip!


